
Multi-Specification Series Storage Containers with Unified Brand Visual Identity – How Does IML In-Mold Labeling Achieve Standardized Mass Production?
Multi-Specification Series Storage Containers with Unified Brand Visual Identity – How Does IML In-Mold Labeling Achieve Standardized Mass Production?
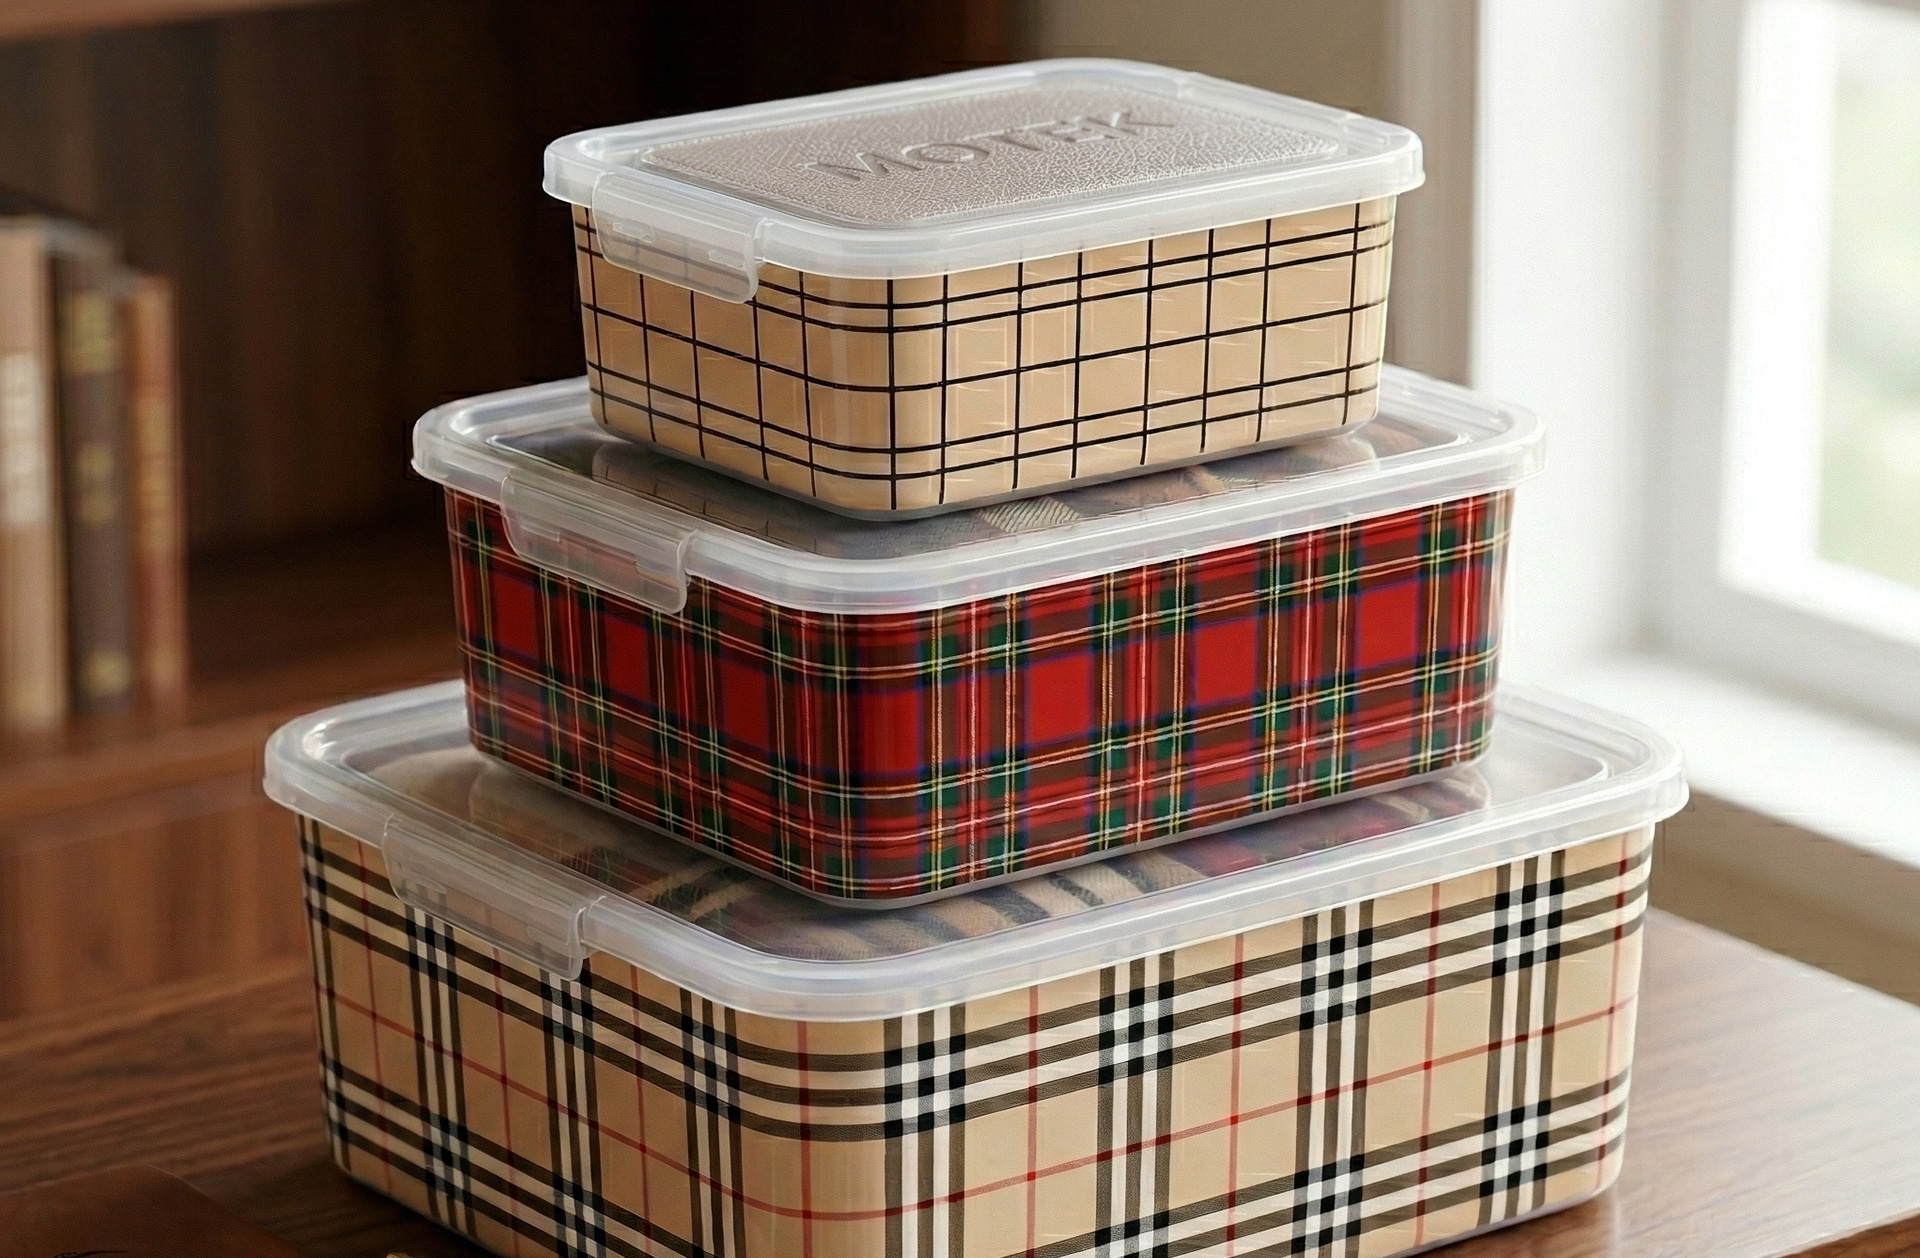
Storage containers rarely come as "singles" – a brand typically launches a series of products ranging from small to large sizes, from shallow to deep styles. Consumer purchasing decisions tend to be "buy a set," not "buy one."
This raises a very practical question: how can the same brand logo, the same color palette, and the same set of patterns be applied consistently across 10L, 20L, and 50L containers?
With traditional labeling or screen printing, every size change requires new plate-making, new color matching, and new process adjustments – color variation between batches is almost inevitable. IML (In-Mold Labeling) technology, however, has a natural advantage in standardized mass production across multiple specifications.
📖 Table of Contents
- 1. What Are the Core Challenges of Unified Visual Identity Across Multiple Specifications?
- 2. Unified Plate-Making: One Set of Plates, Multiple Uses
- 3. Registration Control: Keeping Colors "Precise and Accurate"
- 4. Color Sampling: From "Close" to "Exact"
- 5. The Full IML Standardized Mass Production Process
- 6. FAQ
1. What Are the Core Challenges of Unified Visual Identity Across Multiple Specifications?
When brands produce a series of multi-specification storage containers, visual unity faces three core challenges:
The first challenge: the "rework" cost of size changes. In traditional printing, every change in label size requires re-making the printing plates. The label format for a 10L container is completely different from that for a 50L container – each size requires new plate-making and new setup – plate-making fees × number of specifications, and costs multiply.
The second challenge: color variation between batches. Different specifications of storage containers may be produced in different production runs. In traditional processes, every new plate-making and ink mixing session can introduce color deviations – one batch's logo red is brighter, the next batch's is darker – placed side by side, they do not look like they belong to the same family.
The third challenge: proportional perception of the label on the container. The same logo appears large on a small container and small on a large container – visual proportion is disrupted, and brand recognition suffers.
How does IML technology address these challenges one by one? Let's break it down from the three aspects of plate-making, registration, and sampling.
2. Unified Plate-Making: One Set of Plates, Multiple Uses
2.1 What Is Unified Plate-Making?
IML label printing uses gravure or flexographic printing processes. Unlike traditional labeling, IML labels can achieve "one plate-making, multiple uses" at the plate-making stage – the same set of plates can be used repeatedly to print the same pattern for storage container labels of different sizes.
2.2 How Does Unified Plate-Making Adapt to Multiple Specifications?
Core logic: pattern fixed, size scaled.
The brand's logo, color palette, and core pattern elements are defined as standard visual elements during plate-making. When different specification storage containers need to be produced, the plates themselves do not need to be remade – only the cutting dimensions of the label need to be adjusted during the printing stage.
- 10L storage container: label cut to small size, pattern proportionally scaled down
- 20L storage container: label cut to medium size, pattern proportionally scaled up
- 50L storage container: label cut to large size, pattern proportionally scaled up
Because the plates are the same, the detail precision, color saturation, and line sharpness of the pattern remain consistent across all specifications. When consumers see the logo on both small and large containers, they will not question whether they belong to the same brand.
2.3 The Practical Value of Unified Plate-Making
Cost savings on plate-making: Traditional processes require new plates for each specification; under IML's unified plate-making model, one set of plates covers the entire series.
Shorter development cycles: When a new specification is introduced, there is no need to go through the entire plate-making, sampling, and setup process again – just adjust the cutting dimensions and start production.
Guaranteed pattern precision: Fine lines, micro-text, and other elements in the logo remain clear across labels of different sizes.
3. Registration Control: Keeping Colors "Precise and Accurate"
3.1 What Is Registration?
Registration (Color Registration) is the process of accurately aligning different color inks on the label during multi-color printing. IML labels typically support CMYK four-color printing and can include spot colors (such as Pantone colors). If registration is inaccurate, the pattern edges will show misalignment, ghosting, or white gaps – a thin white line appearing between the logo's outline and its filled color, instantly destroying the brand's refined image.
3.2 How Is Registration Controlled in IML?
Registration holes ensure registration accuracy
In IML label printing, registration accuracy is guaranteed by registration holes. During printing, the film is first printed with forming registration holes and printing registration holes. After the holes are punched through, the film is mounted on a printing fixture with locating pins, and other colors are printed sequentially. This positioning method ensures each layer of color is precisely overprinted in the correct position.
Industry standards for registration deviation
According to industry standards, the center deviation of IML label printed designs should be no more than 2mm; the label's positional deviation on the container should be no more than 1mm for products under 2L and no more than 1.5mm for products over 2L. In actual production, IML registration accuracy can be controlled within ±0.15mm – virtually no color shift is visible to the naked eye.
3.3 The Value of Registration Control for Multi-Specification Uniformity
In multi-specification production, the value of registration control is especially prominent:
Color consistency across specifications: With the same set of plates and the same positioning system, the registration accuracy for labels on 10L and 50L containers is identical.
Color stability across batches: IML's registration process does not rely on manual adjustment but ensures precision through mechanical positioning. Across different batches, the overprint positions of colors will not deviate.
Clean and sharp visuals: Logo edges are crisp and clear, with no "rough edges" or "ghosting" – this is the basic threshold of brand quality.
4. Color Sampling: From "Close" to "Exact"
4.1 Why Is Color Sampling Particularly Important in IML?
IML label colors must go through three stages: "film printing → injection molding → fusion with the substrate". The color looks one way on the film and another after injection molding and fusion with the plastic substrate. If production proceeds without sampling, the final color may well be "two shades off" from the design proof.
4.2 The Standard IML Color Sampling Process
Step 1: Standardized design files
Design files must meet the technical requirements for IML printing:
- Image resolution: no less than 300ppi
- Vector elements (such as logos): no less than 2400ppi or submitted in vector format
- Color mode: CMYK (not RGB)
- Bleed area: 3mm (consumer goods) or 5mm (industrial goods)
Step 2: Digital sampling
Before formal plate-making, a color sample is output using digital printing equipment for the brand to confirm the color effect. This is the "first calibration" – establishing the first reference point between the design file and the actual print.
Step 3: Standard color sample approval
After the brand signs off on the sample, it becomes the approved standard color sample. All subsequent batches of label printing must use this standard color sample as the reference for color comparison.
Step 4: Injection molding sampling
The approved label film undergoes injection molding sampling – the label is placed in the mold and injection-molded to see the final color effect on the finished product. This is the "second calibration" and the most critical one – because this is what the consumer ultimately sees.
Step 5: Color difference control
Industry standards require that the color difference between the label color and the standard sample should not exceed ΔE≤5. Premium brands have stricter requirements, typically controlling it within ΔE≤1.5-2.5. Professional IML suppliers use spectrophotometers for precise color measurement and control.
4.3 The Value of Color Sampling for Multi-Specification Uniformity
Establishing a "color benchmark": Once the standard sample is confirmed, all specifications and all batches are referenced against it – the red on the 10L container and the red on the 50L container are the same red.
Early detection of deviations: During the sampling stage, issues such as color deviation and inaccurate registration can be identified and corrected before mass production, avoiding large-scale scrap.
Peace of mind for the brand: The standard color sample signed off by the brand serves as the basis for quality acceptance – comparing against the standard sample makes it clear whether the product passes or fails.
5. The Full IML Standardized Mass Production Process
Combining the above three aspects, the standardized mass production process for IML multi-specification storage containers can be summarized as follows:
Step 1: Unified plate-making
Create one set of standard printing plates based on the brand's standard visual elements (logo, color palette, core patterns). One set of plates covers the entire series.
Step 2: Standard color sample confirmation
Through digital sampling and injection molding sampling, confirm the final product color and establish a brand-approved standard color sample.
Step 3: Specification-specific cutting
Based on the dimensions of different storage containers, cut the film printed from the same set of plates into labels of different sizes.
Step 4: Standardized injection molding
Place the labels into molds of different specifications and complete injection molding. Injection process parameters (temperature, pressure, speed) are fine-tuned for each specification, but the visual standards remain unchanged.
Step 5: Quality inspection
Using the standard color sample as the benchmark, inspect each batch of products for color, registration, positional deviation, and other criteria.
6. FAQ
Yes. IML uses unified plate-making – labels printed from the same set of plates have identical pattern precision and line sharpness. Different specifications involve only size scaling, not pattern distortion.
No. IML's registration process ensures precision through registration holes and mechanical positioning, without relying on manual adjustment. Once the standard sample is confirmed, all specifications and all batches are controlled to the same color standard.
IML plate-making costs are concentrated in a one-time upfront investment. Once the standard plates are made, all subsequent specifications can share the same plates – no separate plate-making is required for each specification. The more specifications, the lower the average plate-making cost per specification.
Typically 1-2 weeks, including digital sampling, standard sample confirmation, and injection molding sampling. The exact timeline depends on pattern complexity and the number of colors. While the sampling cycle is slightly longer than ordinary printing, investment in the sampling stage prevents large-scale rework and scrap during mass production.
Yes. The minimum line width for IML labels is 0.15mm; positive text minimum is 6pt; reversed text minimum is 7pt. Designs should avoid lines that are too fine or text that is too small.
Brands should require suppliers to provide standard color samples as the basis for acceptance and specify color difference standards (e.g., ΔE≤2.0) in contracts. Professional IML suppliers use spectrophotometers for color management to ensure cross-batch color consistency.
Contact Us
Name*
Telephone*
Region*
Please fill in your request*


