
Complete IML Process for Biscuit Boxes – One-Step Production from Pellet to Finished Product
Complete IML Process for Biscuit Boxes – One-Step Production from Pellet to Finished Product
When you pick up a box of biscuits from the shelf, the beautifully printed pattern appears to have "grown" directly onto the plastic surface. There are no sticker edges, and you can feel no raised bumps – this is the magic of In-Mold Labeling (IML) technology.
The core advantage of IML lies in its "one-step" nature – from raw material to finished product, all processes are completed continuously on a single production line, with no need for intermediate transfer, waiting, or secondary processing. Below, we break down the complete process of how a biscuit box goes from PP pellets to finished product, revealing exactly how this "one-step" process works.
📖 Table of Contents
- 1. Raw Material Preparation: The "Transformation" Journey of PP Pellets
- 2. Label Production: From Film to Precision-Printed Label
- 3. Label Placement: The Robot's "Precision Strike"
- 4. Electrostatic Adsorption: Making the Label "Stick" to the Mold
- 5. Mold Closing and Injection: "Fusion" Under High Temperature and Pressure
- 6. Cooling and Demolding: The "Birth" of the Biscuit Box
- 7. Full Process Review: Why Is It Called "One-Step"?
- 8. FAQ
1. Raw Material Preparation: The "Transformation" Journey of PP Pellets
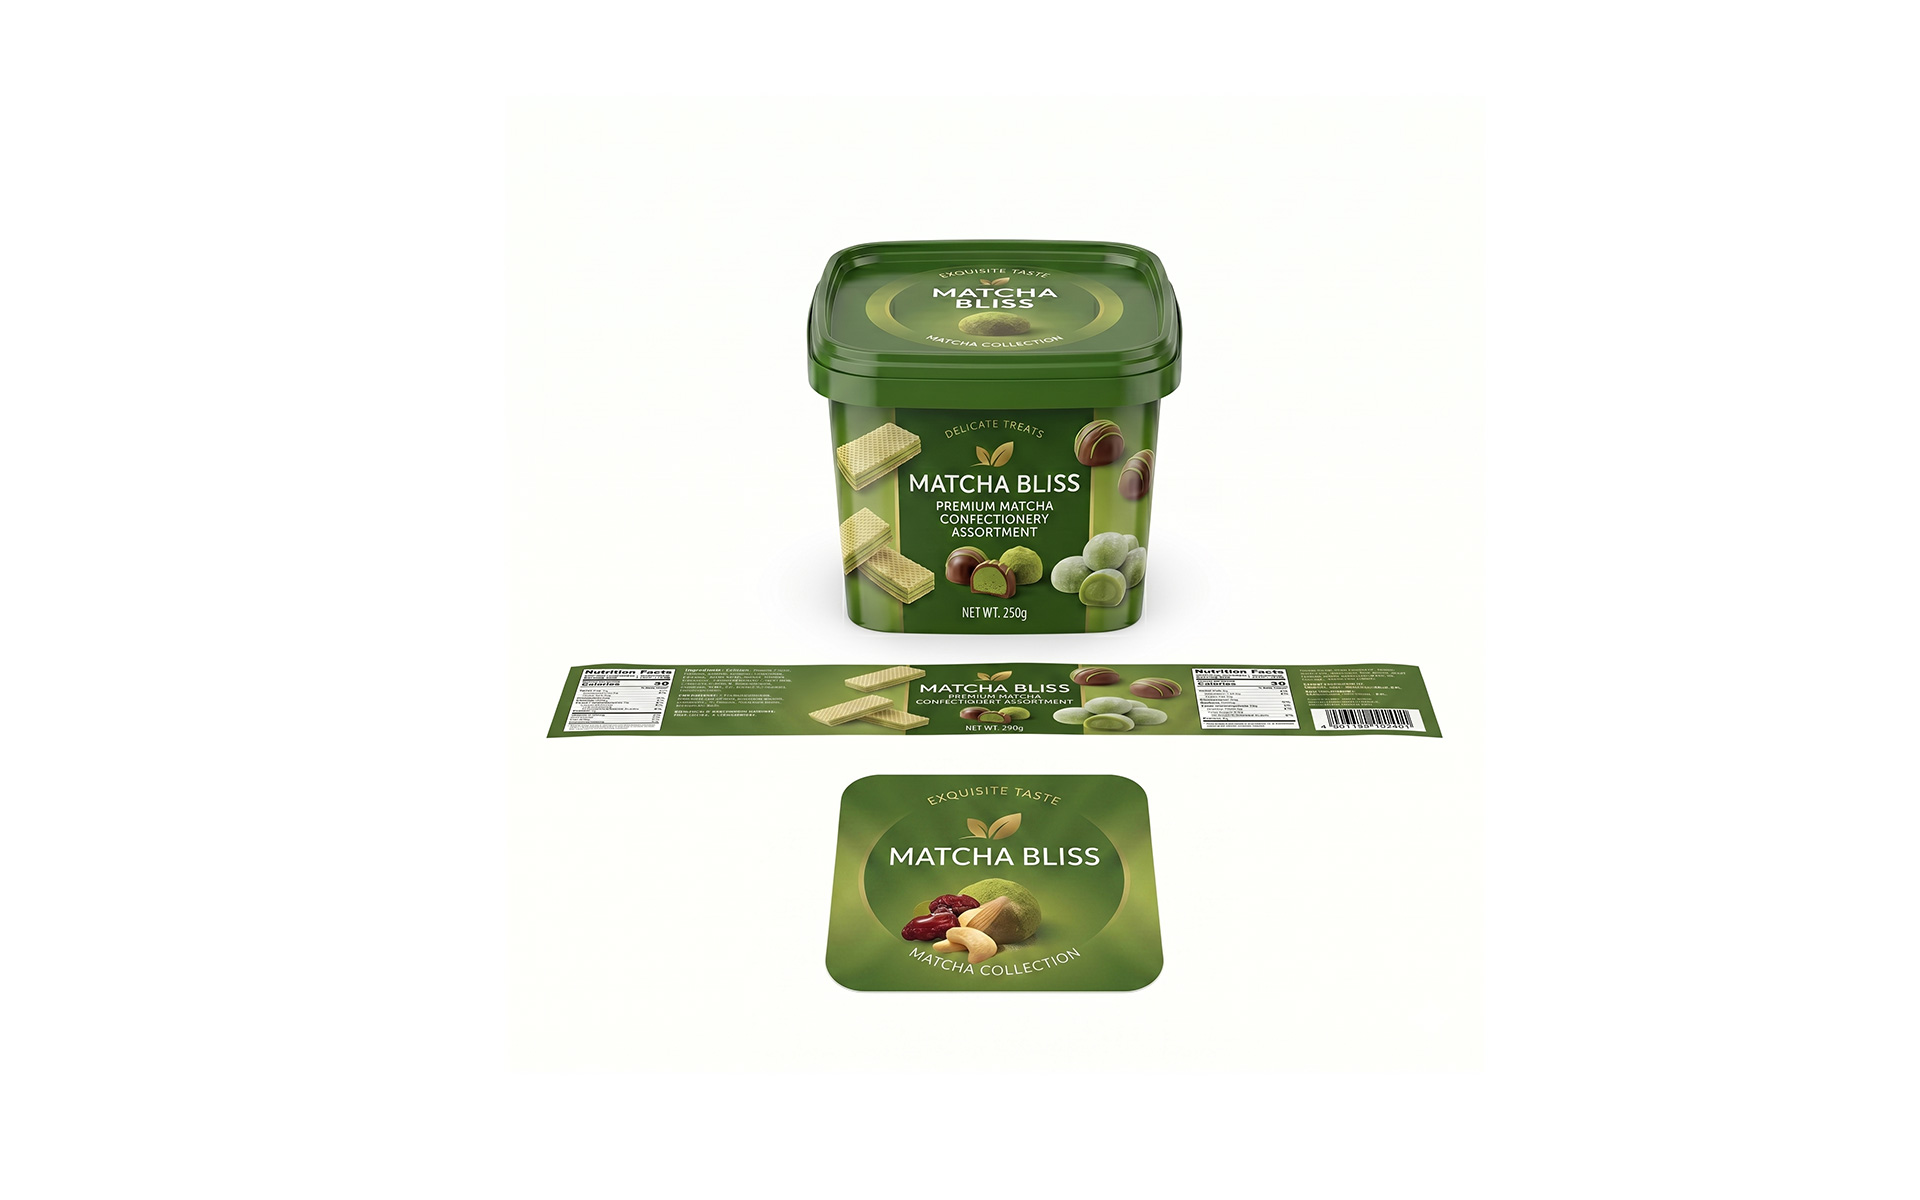
Everything starts with PP (polypropylene) pellets.
The raw material for biscuit boxes is food-grade PP plastic pellets. These pellets are fed into the hopper of the injection molding machine. After passing through the heating system, they are melted into a viscous liquid plastic at temperatures between 200-280°C, ready to be injected into the mold cavity.
At the same time, label production is proceeding in parallel.
2. Label Production: From Film to Precision-Printed Label
The beautiful graphics on the biscuit box are not printed directly onto the box body. Instead, they are first printed onto a plastic film.
Label production includes the following steps:
① Sheet Cutting: The roll of film is cut into square sheets of the required size.
② Flat Printing: Based on the design artwork, printing plates are made, and the pattern, text, and logo are printed onto the film. IML supports high-resolution, multi-color printing – the brand logo, product information, and decorative patterns on the biscuit box are all completed in this step.
③ Ink Drying and Curing: The printed film sheets are placed in a high-temperature oven to cure the ink, preventing it from smudging or fading in subsequent steps.
④ Protective Lamination: To avoid scratching the printed surface during subsequent punching and die-cutting, a layer of protective film is sometimes applied.
⑤ Punching Registration Holes: Registration holes for thermoforming must be punched accurately – they determine the positioning precision for all subsequent operations.
⑥ Thermoforming: The printed film is heated and then formed using a high-pressure machine or copper mold to give it a three-dimensional shape that matches the contours of the biscuit box's inner wall.
⑦ Trimming the Outline: The excess waste material is trimmed away, leaving an individual label ready for direct use in injection molding.
At this point, label production is complete. A beautifully printed "label" is now ready to enter the mold and fuse with the biscuit box.
3. Label Placement: The Robot's "Precision Strike"
After the mold opens, an automated robot picks up the pre-printed and die-cut label from the label magazine and precisely places it into the mold cavity.
This action may seem simple, but the precision required is extremely high. The robot's positioning accuracy is typically within ±0.2mm to ±0.5mm – deviation beyond this range will cause the label to shift or skew during injection, resulting in product rejection.
When the label is placed into the mold, the printed side faces the mold wall, while the back (coated with hot-melt adhesive) faces outward. This ensures that the molten plastic contacts the back of the label during injection, without damaging the printed pattern.
4. Electrostatic Adsorption: Making the Label "Stick" to the Mold
After the label is placed into the mold, it must be securely fixed against the mold wall – otherwise, the high-speed molten plastic will displace it.
In injection IML processes, electrostatic adsorption is the standard method. After the robot places the label into the mold cavity, a static generator applies a short charge to the label through a static discharge head. The charged label is then firmly held against the mold wall.
Why is vacuum adsorption not used?
This is a critical technical detail. Blow molding uses lower pressure and can employ vacuum adsorption; however, injection molding uses extremely high pressure. If vacuum adsorption were used, the molten plastic would puncture the label, and the injected resin would clog the vacuum holes, severely affecting production continuity. Therefore, electrostatic adsorption is the standard method for injection IML.
5. Mold Closing and Injection: "Fusion" Under High Temperature and Pressure
After the label is fixed, the mold closes.
Molten PP plastic is injected from the injection molding machine's nozzle into the mold cavity. As the high-temperature melt (200-280°C) flows across the back of the label, the heat activates the hot-melt adhesive layer on the label's back.
Under the combined effects of high temperature and high pressure:
- The hot-melt adhesive on the label back melts
- The label and the molten plastic bond tightly
- The two materials fuse as one at the molecular level
The label is no longer "stuck onto" the biscuit box – it is "born together" with the biscuit box.
6. Cooling and Demolding: The "Birth" of the Biscuit Box
After injection is complete, the product undergoes a brief cooling and solidification period inside the mold.
Cooling must be uniform; otherwise, the biscuit box may warp and the label may wrinkle. Cooling time must be precisely controlled based on product wall thickness and material properties.
After cooling, the mold opens. At this point, a beautifully printed biscuit box is completed in a single injection molding cycle.
The label and the box body are on the same plane – you cannot feel the label's presence at all. The colorful graphics appear as if printed directly onto the box surface. The entire process, from label placement to finished product ejection, is completed in one continuous operation.
7. Full Process Review: Why Is It Called "One-Step"?
Looking at the entire process from start to finish:
| Step | Traditional Process | IML Process |
|---|---|---|
| Raw material preparation | PP pellets → injection molded into box body | PP pellets → injection molded into box body (simultaneously with label) |
| Label production | Separate printing → cutting → inventory | Separate printing → cutting → thermoforming → directly fed into injection line |
| Labeling step | After box molding → separate labeling | Completed during injection – no post-processing |
| Quality inspection | Two separate inspections (molding + labeling) | Single inspection |
In traditional processes, box molding and labeling are two separate steps – first mold the box, then label it. This requires intermediate handling, storage, and secondary machine setup – each step adding cost, time, and quality risk.
IML combines labeling and molding into one step, completing decoration simultaneously with injection molding. Depending on the system configuration, the entire cycle time can be completed in 4-8 seconds.
Eliminating the traditional labeling step, one-shot molding greatly improves production efficiency.
8. FAQ
Ordinary stickers are "stuck on" and carry the risk of peeling, curling, and fading. IML labels are fused with the box body during injection molding – they are an inseparable part of the product, will not peel, will not curl, and will not fade.
Because the label and the box body are on the same plane. During injection molding, the label fuses with the molten plastic, and the label edges are "encased" by the plastic, resulting in a completely smooth surface with no detectable label presence.
No. The surface of an IML label is a hardened transparent film with surface hardness reaching 3H. This film is wear-resistant, scratch-resistant, and actually gets "shinier with use."
Yes. One of IML's major advantages is that patterns and colors can be changed during production without changing the mold. This provides great flexibility for multi-variety, small-batch production.
Very much so. IML labels and biscuit boxes typically use the same PP material. During recycling, the entire product can be directly shredded and reprocessed – no label separation required, no adhesive removal required.
Depending on the system configuration, the entire cycle time is typically 4-8 seconds. From label placement to finished product ejection, the entire process is fully automated with exceptionally high production efficiency.
Contact Us
Name*
Telephone*
Region*
Please fill in your request*


