
IML Flower Pot Design Pitfall Guide: 8 Details That 90% of People Get Wrong
IML Flower Pot Design Pitfall Guide: 8 Details That 90% of People Get Wrong
You receive a sample of an IML flower pot. The pattern looks beautiful, the colors are vibrant, everything seems perfect. Then mass production begins – and problems emerge: label wrinkling, exposed white edges, pattern misalignment, pot deformation… Rework, scrap, delivery delays – every single one of them hits your bottom line.
These pitfalls trap 90% of designers, and they often stumble at the very same spots, repeatedly.
Designing an IML flower pot is completely different from designing an ordinary injection‑molded part. You are not designing a pot – you are designing a "pot + label" composite system. The label must fuse with the plastic during the injection process, and if any detail is overlooked, the final product will be defective.
Below are 8 details distilled from the "hard‑earned lessons" of countless IML projects. After reading this guide, you will know how to avoid them.
📖 Table of Contents
- 1. Bleed Area: The "Safety Zone" for Pattern Cutting
- 2. Wall Thickness: Uniformity Is the First Principle
- 3. Positioning Feet: The "Anchor" for Labels in the Mold
- 4. Draft Angle: The "Lifeline" for Demolding
- 5. Radius Design: The "Buffer Zone" for Label Conformance
- 6. Gate Position: Avoiding the "Minefield" Near the Label
- 7. Color Management: The Secret to "What You See Is What You Get"
- 8. Shrinkage Matching: The "Invisible Key" to Dimensional Stability
- 9. FAQ
1. Bleed Area: The "Safety Zone" for Pattern Cutting
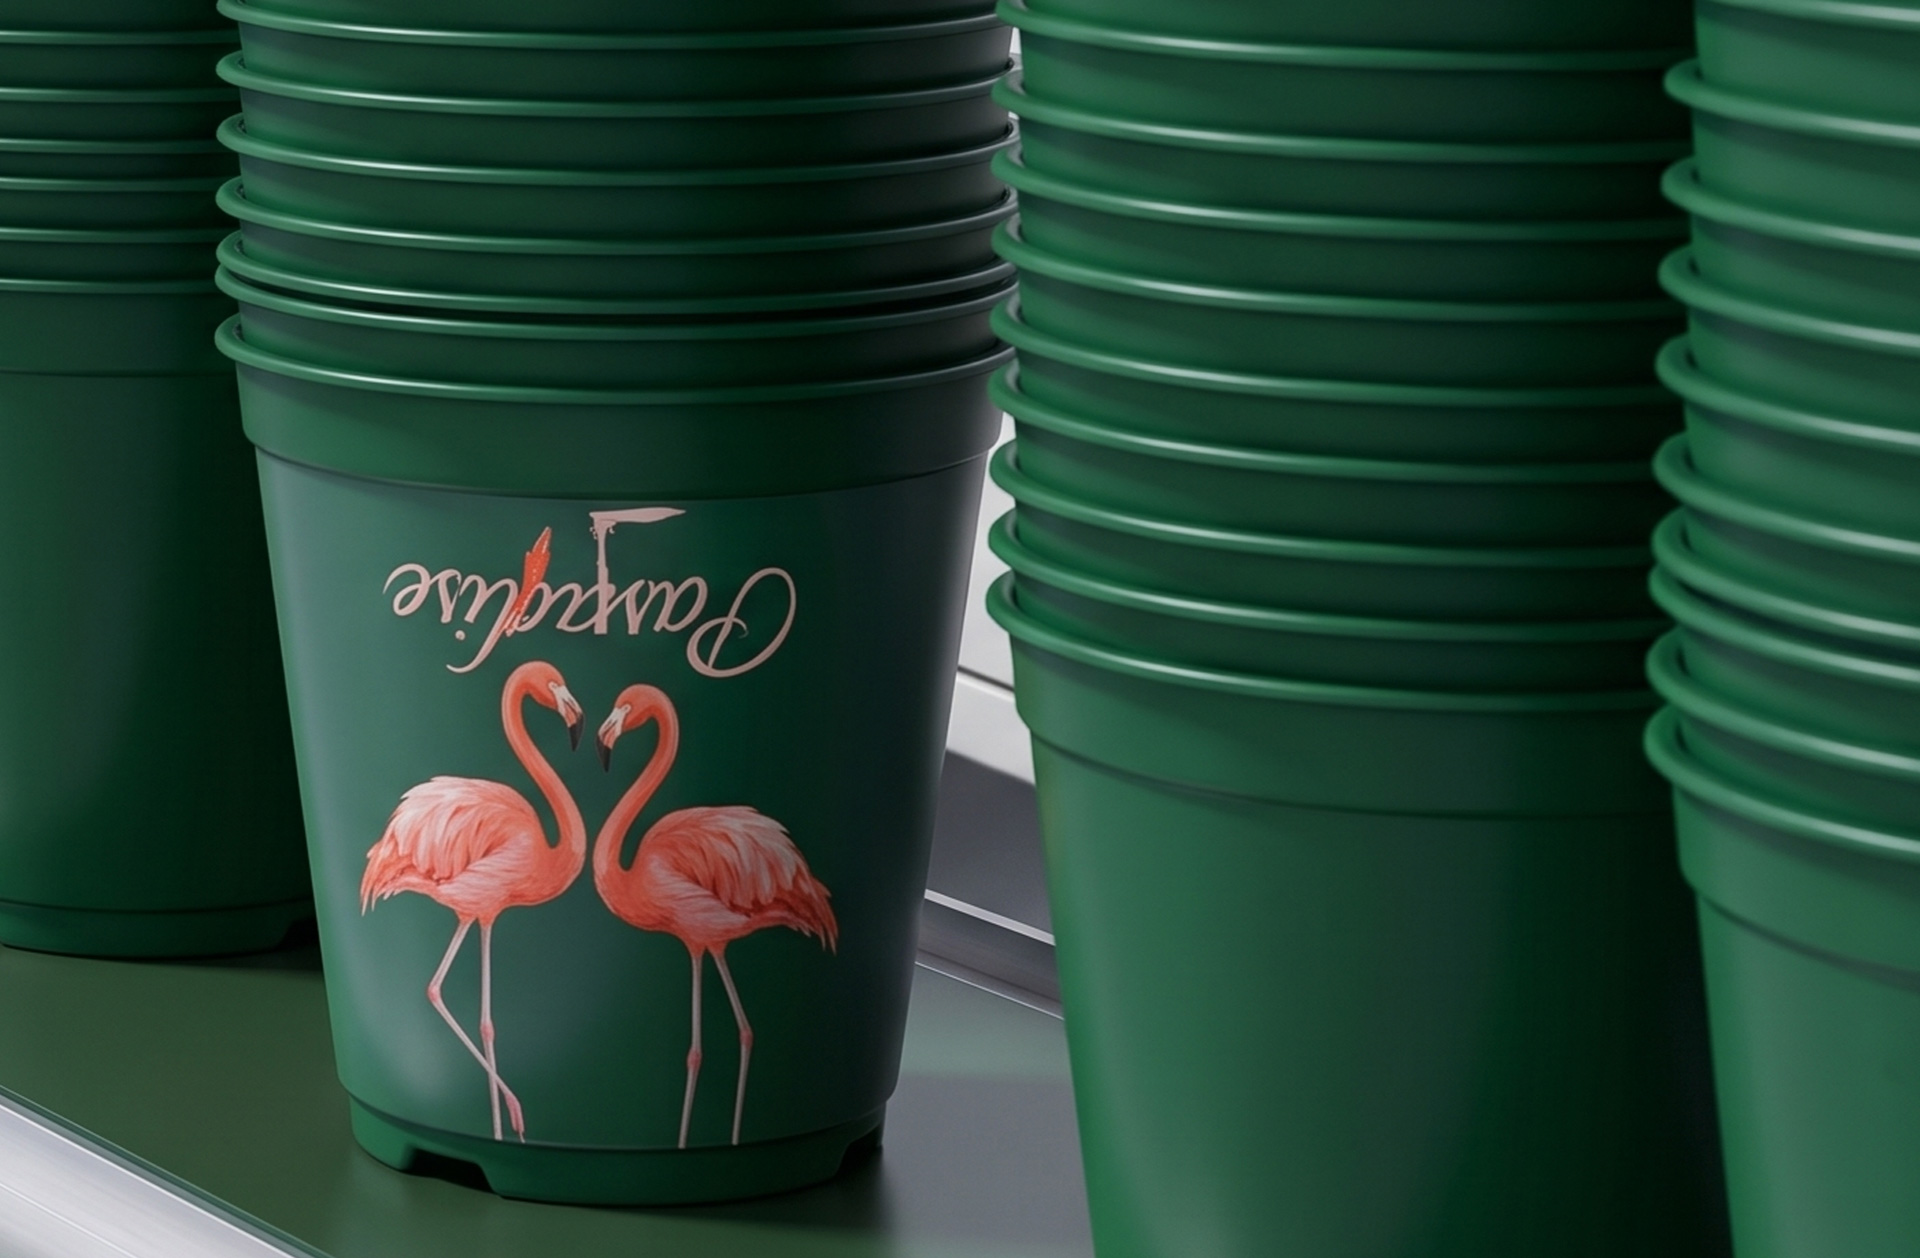
The Pitfall: Many designers treat IML labels like ordinary printed matter, placing the pattern right up to the label edge. When die‑cutting shifts slightly during production, the pot substrate color shows through – creating ugly "exposed white edges."
The Right Approach: IML labels are subject to inevitable die‑cutting tolerances. After the finished product is made, the label edge will have an exposed area of within 0.1mm. In other words, the plastic substrate of the pot will show a very fine line at the label edge.
To prevent this exposed edge from ruining the overall visual effect, you need to do two things:
First, reserve a bleed area. During pattern design, all colors and graphic elements must extend 2‑3mm beyond the label cutting line. This way, even if die‑cutting has minor deviations, the finished pattern remains complete – no "incomplete printing."
Second, handle the exposed edge. If you cannot accept any exposed edge, you can design an R0.1 radius on the label edge – the curved surface helps obscure the visual impact of the exposed edge. Alternatively, design a decorative line or color block around the pot edge so the exposed edge "blends into" the overall design rather than standing out.
Remember: The edge of an IML label is always exposed – there is no such thing as "fully wrapped." Rather than trying to hide it, incorporate the exposed edge into your overall visual scheme at the design stage.
2. Wall Thickness: Uniformity Is the First Principle
The Pitfall: Designers apply their experience from ordinary injection‑molded parts – thick where needed, thin where possible. During injection, the melt flow becomes uneven, shifting the label, or the pot deforms and warps after cooling.
The Right Approach: For IML flower pot wall thickness design, uniformity is the first principle.
The average wall thickness of an IML flower pot is generally required to be less than 1.2mm (including the label thickness). Uneven wall thickness causes two problems:
First, uneven melt flow. During injection, molten plastic enters the cavity from the gate. If the wall thickness varies along the flow path, the flow rate changes, potentially displacing the already‑fixed label.
Second, uneven cooling shrinkage. Thick areas cool slowly and shrink more; thin areas cool quickly and shrink less. This difference causes warpage, and since the label is fused with the pot, the deformation will directly pull on the label, causing wrinkling or delamination.
Design recommendations:
- Keep wall thickness as consistent as possible across the pot
- If structural thickness variations are unavoidable, design smooth transition zones
- Minimum wall thickness recommended: no less than 1.0mm (excluding label thickness)
3. Positioning Feet: The "Anchor" for Labels in the Mold
The Pitfall: After the label is placed in the mold, it shifts during mold closing and injection due to melt flow, resulting in a skewed label and off‑center pattern on the finished product.
The Right Approach: The label must be securely fixed inside the mold – positioning feet serve as the label's "anchor."
After the IML label is placed in the mold, it is secured by:
- Vacuum adsorption: Tiny vacuum holes in the mold create negative pressure to hold the label against the cavity wall
- Electrostatic adsorption: Static charge holds the label in the correct position
Regardless of the method, the label's positioning feet design is foundational. Positioning feet are tiny protrusions extending from the label edge that mate with recesses in the mold, ensuring the label does not move in the X‑Y direction within the mold.
Design points:
- The location and number of positioning feet must be confirmed with the mold designer
- Positioning foot dimensions must be precise – too loose and the label shifts, too tight and the label cannot be inserted
- Positioning feet must not affect the final visual appearance of the label on the pot
Robotic label placement accuracy must be within ±0.2mm. If positioning feet are not well designed, even the most precise robot cannot save you.
4. Draft Angle: The "Lifeline" for Demolding
The Pitfall: Designers use the same draft angle as ordinary injection‑molded parts (1‑2°). During demolding, the label is pulled, wrinkled, or cannot be removed cleanly.
The Right Approach: The draft angle for IML flower pots must be larger than for ordinary injection‑molded parts.
The reason is simple: the label is a thin film that does not stretch like molten plastic. If the draft angle is too small, the label will be "scraped" by the mold wall during demolding, causing wrinkling, tearing, or peeling.
Products made with IML injection molds require a larger demolding angle. Specifically:
- Minimum draft angle: 3° (for simple shapes)
- Recommended draft angle: 3‑5°
- Deep‑cavity or complex shapes: 5° or more is safer
For deep‑cavity products like flower pots, the draft angle is particularly critical. The taller the pot, the larger the draft angle required. For every additional 25mm in depth, increase the draft angle by approximately 1°.
Additionally, the direction of the draft angle is also important. The draft direction must be consistent across the label area to avoid lateral forces during demolding.
5. Radius Design: The "Buffer Zone" for Label Conformance
The Pitfall: The pot is designed with sharp right angles or acute corners. At the corners, the label tears, wrinkles, or simply cannot conform.
The Right Approach: IML molding cannot produce sharp outer edges. The label is a thin film that cannot bend around sharp corners – stress concentration will cause tearing or wrinkling.
Products made with IML injection molds require an outer contour radius of at least 0.2mm.
Specific design guidelines:
- Outer contour corners: Minimum R0.2mm, recommended R0.5mm or more
- Where side walls meet: At least R0.3mm
- Hole edges: Generally up to (2/3‑1)R, minimum R0.2mm
- The taller the side wall, the larger the radius required – and the draft angle must increase accordingly
Special note: If the draft angle of the pot is less than 3° and you require the film to wrap over the radius, the wrap depth must be less than 0.3mm. Otherwise, the film cannot conform to the radius and will inevitably wrinkle.
6. Gate Position: Avoiding the "Minefield" Near the Label
The Pitfall: The gate is positioned directly facing the label area. During injection, the high‑temperature, high‑speed melt washes away the label ink, shifts the label, or burns the label film.
The Right Approach: The gate must be positioned away from the label area.
IML injection molds should use submarine gates for feeding. This allows the melt to enter the cavity from the side, without directly impacting the label surface.
Why the gate cannot face the label:
- High‑speed melt can wash away the label ink, causing incomplete patterns
- High‑temperature melt can burn the label film
- The impact force can shift the label, causing a skewed finished product
Design recommendations:
- For flower pot molds, the gate is typically placed at the center of the pot bottom using a single hot‑runner nozzle
- Or use a submarine gate feeding from the side of the pot bottom
- Gate position should be confirmed with the mold engineer at the design stage
7. Color Management: The Secret to "What You See Is What You Get"
The Pitfall: The design proof looks vibrant and saturated, but the finished product comes out dull and grey – completely different from expectations.
The Right Approach: Color management for IML is far more complex than for ordinary printing. IML color goes through three stages: "film printing → injection molding → fusion with the substrate" – each stage affects the final color.
Three Color Traps:
Trap One: Substrate color influence. If the pot substrate itself is dark, the label colors will be "absorbed" – appearing dull and grey. Solution: include a double white backing layer in the pattern design to isolate the substrate color.
Trap Two: Incorrect ink selection. IML labels demand high ink layer abrasion resistance. UV inks offer higher ink layer strength compared to solvent‑based inks, making them more suitable for IML applications.
Trap Three: Insufficient color difference control. The industry standard for color difference is generally ΔE≤1.5. There should be no noticeable color variation between products in the same batch. We recommend color sample confirmation before mass production, and establishing a standardized color management process with your supplier.
Color Management Checklist:
- Use CMYK color mode for design files (not RGB)
- Confirm the pot substrate color; add a white base layer if necessary
- Choose UV inks to ensure ink layer strength
- Conduct color sample confirmation before mass production
8. Shrinkage Matching: The "Invisible Key" to Dimensional Stability
The Pitfall: The shrinkage rates of the label and the pot do not match. After production, the pot deforms and the label wrinkles – but no one can pinpoint the cause.
The Right Approach: The shrinkage rate of IML flower pots is relatively small, typically around 0.3%. But the key issue is that the shrinkage rates of the label and the pot must match.
If the label shrinkage rate differs from the pot shrinkage rate:
- The finished pot may deform (e.g., bulging or indentation)
- The label may wrinkle or separate from the pot
- The label pattern may distort
Why do IML flower pots have a lower shrinkage rate? Because the label fuses with the plastic during injection, effectively adding a "skeleton" layer on the pot surface that restricts free shrinkage of the plastic.
Key points for shrinkage matching:
- Choose label materials with a shrinkage rate close to that of the pot
- Using the same material for both label and pot (e.g., both PP) is the safest approach
- Confirm material shrinkage rates at the design stage – do not wait until the mold is already made
A common mistake: Using PP for the pot and PE for the label. Their shrinkage rates differ, and the finished product will inevitably deform or wrinkle.
9. FAQ
Yes. IML labels are subject to die‑cutting tolerances. Without a bleed area, cutting deviations will cause exposed white edges at the pattern boundary. The bleed area should generally be 2‑3mm.
The average wall thickness of an IML flower pot is recommended to be less than 1.2mm (including label thickness), and should be as uniform as possible. Minimum wall thickness should not be less than 1.0mm (excluding the label).
Positioning feet are tiny protrusions on the label edge that mate with recesses in the mold to fix the label position. Even if your IML supplier uses electrostatic or vacuum adsorption to secure the label, positioning feet are still recommended – they act as a "physical anchor" inside the mold, effectively preventing label displacement during mold closing and injection.
Because the label is a thin film that does not stretch like molten plastic. If the draft angle is too small, the label will be scraped by the mold wall during demolding, causing wrinkling or tearing. The draft angle for IML flower pots should be at least 3°, with 3‑5° recommended.
Outer contour radius should be at least R0.2mm, and where side walls meet at least R0.3mm. If the draft angle is less than 3°, the radius wrap depth must be less than 0.3mm.
High‑speed, high‑temperature melt can wash away the label ink, burn the label film, or shift the label. IML molds should use submarine gates feeding from the side.
Possible reasons: the pot substrate is dark without a white base layer; incorrect ink selection; insufficient color difference control. We recommend using CMYK mode for design, confirming the substrate color, choosing UV inks, and conducting color sample confirmation before mass production.
They must be close. If the label shrinkage rate differs from the pot shrinkage rate, the finished product will deform or wrinkle. The safest approach is to use the same material for both label and pot (e.g., both PP).
No. The edge of an IML label is always exposed, with an allowable exposed area of within 0.1mm. To conceal the exposed edge, you can design an R0.1 radius or a decorative line at the edge.
Contact Us
Name*
Telephone*
Region*
Please fill in your request*


