
Key Points of In-Mold Label Die-Cutting and Waste Removal Process: How Edge Burrs and Residual Film Affect Injection Molding Results
Key Points of In-Mold Label Die-Cutting and Waste Removal Process: How Edge Burrs and Residual Film Affect Injection Molding Results
In IML (In-Mold Labeling) production, while the appearance design and print quality of the label are certainly important, a frequently overlooked step—die-cutting and waste removal—often determines the success or failure of the final product.
Die-cutting and waste removal, simply put, is the process of cutting the printed film web into individual label shapes and stripping away the excess waste material surrounding the labels. This seemingly simple cutting step is one of the most easily underestimated technical hurdles in IML production. Even a 0.2mm deviation at the label edge can prevent precise matching with the mold cavity. Whether the label cutting edges are smooth and whether waste removal is clean and efficient directly determines the label's fit quality inside the mold, and consequently affects the injection molding results.
📖 Table of Contents
1. The Core Task of Die-Cutting and Waste Removal: Cutting Out "Precision"
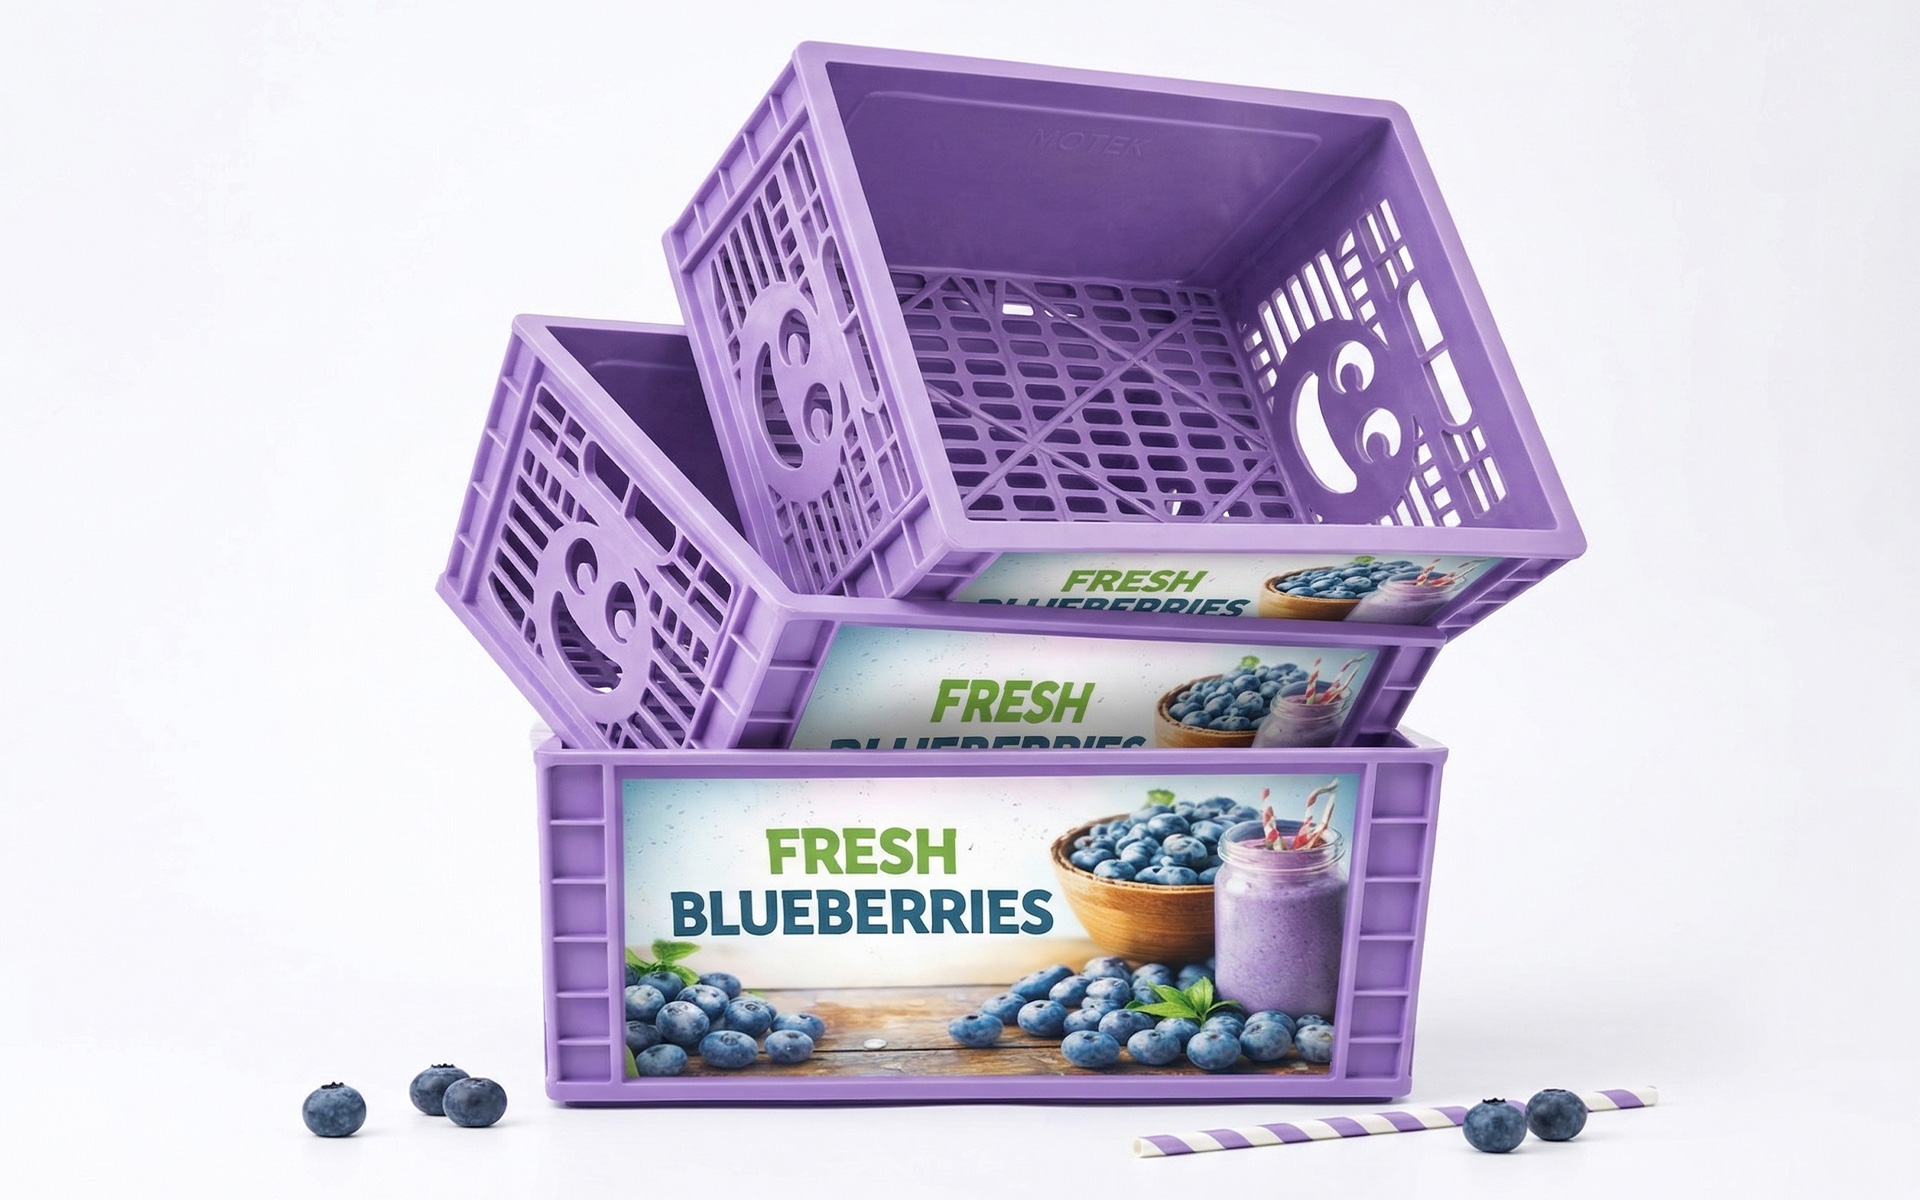
The die-cutting and waste removal process for IML labels has only two core objectives: cut accurately and remove cleanly.
Cut accurately means the die-cutting precision must be sufficiently high. After the label is placed into the injection mold, it needs to perfectly conform to the mold cavity. If the cutting deviation exceeds 0.2mm, the label cannot be precisely positioned, potentially causing shifting, wrinkling, or exposed substrate during injection.
Remove cleanly means the waste material at the label edges must be completely stripped away, with no residual film or burrs. The back of the label is coated with hot-melt adhesive. If, after cutting, it remains stuck to the waste material, forcibly tearing it apart will leave uneven burrs or film residue at the label edges.
The traditional in-mold label production process is printing → forming → die-cutting → injection molding. As the last step before injection molding, the quality of die-cutting directly determines the yield rate of injection molding. Once problems occur at the die-cutting stage, no matter how exquisite the printing or how precise the mold, the final product will be ruined.
2. Edge Burrs: The "Invisible Driver" of Injection Defects
2.1 How Are Burrs Generated?
If the die-cutting blade is not sharp enough during cutting, the edges will be irregular and produce burrs. A dull blade causes the film material at the label edge to be "torn" rather than "cut," forming fine fibrous burrs. Additionally, excessive die-cutting pressure can cause the waste edge to stick to the label, leaving jagged edges when the waste is stripped.
2.2 How Do Burrs Affect Injection Molding?
After the label is placed in the mold, under the high temperature and high pressure of injection, the burrs at the edges can trigger a series of problems:
Issue 1: Edge melting. The fibrous film material of the burrs, under the impact of high-temperature molten plastic, will locally melt and curl, fusing with the plastic substrate into irregular "melted edge" marks. This is especially noticeable on transparent or light-colored containers, looking like an extra layer of plastic "smeared" at the label edge, severely affecting appearance.
Issue 2: Pulling and wrinkling. Burrs may be pulled and rolled over by the flow of molten plastic during injection, causing the label edges to wrinkle. A tiny burr can trigger wavy wrinkles along the entire edge—on large flat products like returnable containers and storage bins, these wrinkles are magnified significantly.
Issue 3: Poor label-to-mold fit. Burrs prevent the label edges from lying flat against the mold wall. During injection, molten plastic can seep underneath the label from the gaps, causing the label to lift or the pattern to shift.
Once melting and wrinkling caused by burrs occur, they cannot be repaired—the entire batch must be scrapped.
3. Residual Film: The "Time Bomb" Hidden in the Mold
3.1 How Does Residual Film Occur?
Incomplete waste removal is the primary cause of residual film. After die-cutting, the waste material surrounding the label needs to be stripped away by the waste removal system. If the waste removal tension is improperly controlled or the waste removal angle is incorrect, the waste may break at the label edge, leaving extremely fine film threads or small film fragments attached to the label edge.
3.2 How Does Residual Film Affect Injection Molding?
Hazard 1: Mold contamination. Residual film fragments are carried into the cavity when the label is placed into the mold. During injection, these fragments melt at high temperatures and adhere to the mold surface, forming carbon deposits or stains. After multiple injection cycles, the contaminated mold surface affects the appearance of all subsequent products.
Hazard 2: Label positioning deviation. Even a 0.2mm protrusion of residual film beyond the label edge can prevent the label from fully conforming inside the mold, causing label shifting or pattern skewing during injection.
Hazard 3: Stress concentration leading to cracks. During cooling after injection, residual film, due to uneven thickness, can create localized stress concentration, potentially causing fine cracks at the label edges over long-term use.
4. Three Key Control Points for Die-Cutting and Waste Removal
4.1 Die-Cutting Tool Precision and Maintenance
Key Point: The die-cutting blade must remain sharp. A dull blade is the primary source of burrs. Regularly replace die-cutting tools to ensure cutting edges are neat and smooth.
For irregular-shaped cuts commonly used in IML labels (such as curved edges, contoured outlines), die-cutting precision requirements are even higher. Even a 0.2mm deviation can cause the label to mismatch the mold.
Practical Recommendations:
- Establish a regular replacement and sharpening schedule for die-cutting tools
- Conduct trial cutting verification before each production batch
- Use high-precision rotary die-cutting equipment for irregular-shaped labels
4.2 Waste Removal System Optimization
Poor waste removal is the direct cause of residual film. If the waste edge sticks to the label during removal or the waste removal angle is incorrect, residue can occur.
Practical Recommendations:
- Appropriately increase the waste discharge angle to facilitate quick stripping of the waste edge
- Control waste removal tension to prevent the waste edge from breaking and leaving residue
- Use vacuum waste removal as an alternative to purely mechanical winding
- Regularly clean the waste removal rollers to prevent waste accumulation
4.3 Die-Cutting Pressure and Speed Control
Excessive die-cutting pressure can cause the waste edge to stick tightly to the label; insufficient pressure results in incomplete cutting, causing the label to be pulled up during waste removal.
Practical Recommendations:
- Adjust die-cutting pressure based on film thickness (typically 50-80μm)
- Match die-cutting speed with waste removal speed to prevent pulling
- Use multi-stage die-cutting for complex-shaped labels to complete cutting in steps
5. FAQ
Burrs are pulled and rolled by molten plastic during injection, causing wrinkling at the label edges. The more severe the burrs, the higher the wrinkling risk. On large flat products like returnable containers, even a tiny burr at the edge can trigger wavy wrinkles along the entire edge.
Cutting deviation exceeding 0.2mm can prevent precise matching with the mold cavity. Deviation causes inaccurate label positioning inside the mold, leading to shifting, wrinkling, or exposed substrate during injection.
Incomplete waste removal leaves extremely fine film threads or small film fragments at the label edges. These residues can contaminate the mold surface during injection, cause label positioning deviation, or create stress concentration and cracks during cooling.
Check whether the cutting edges show burrs, jaggedness, or irregular cross-sections. If label edges are not smooth and waste breaks frequently during removal, the die-cutting tool has dulled and needs replacement or sharpening.
Irregular-shaped labels (such as curved edges, contoured outlines) have more complex cutting paths and require higher die-cutting precision. Even a 0.2mm deviation can prevent the label from being precisely placed into the mold. Higher-precision die-cutting equipment and stricter process control are required.
Contact Us
Name*
Telephone*
Region*
Please fill in your request*


