
Injection Molding In-Mold Labeling: An Integrated Solution for High-Precision Containers
Injection Molding In-Mold Labeling: An Integrated Solution for High-Precision Containers
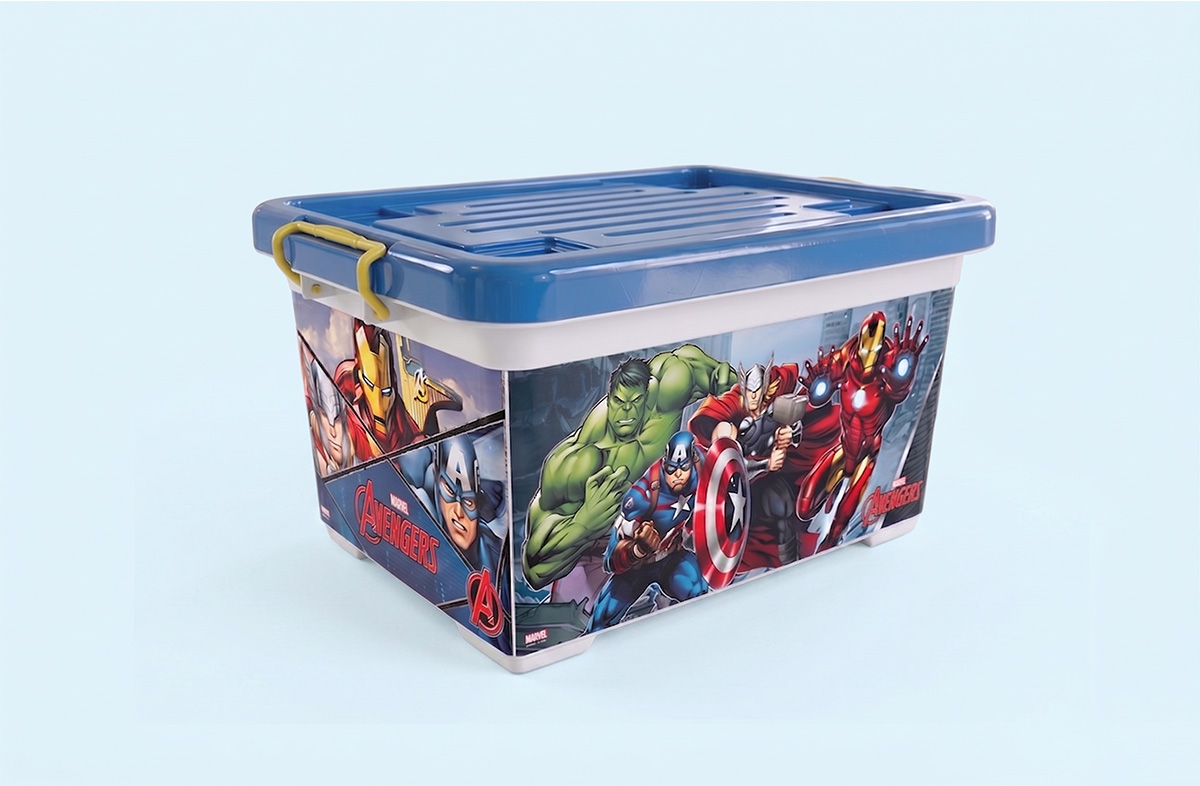
Within the in-mold labeling (IML) technology family, injection molding IML represents higher precision and broader application boundaries. Unlike blow molding IML, which is mainly used for hollow containers, injection molding IML is suitable for packaging products that demand strict wall thickness uniformity, tight dimensional tolerances, and high-quality surface appearance – for example, ice cream tubs, butter boxes, yogurt cups, coffee capsule containers, etc. According to statistics, about 80% of in-mold labeling applications in the European market use the injection molding process.
1. Why Choose Injection Molding In-Mold Labeling?
Injection molding itself is a process in which molten plastic is injected at high speed into a closed mold cavity and then cooled to obtain a precisely shaped product. When combined with in-mold labeling, it delivers three core values:
High precision: Injection molding can achieve dimensional tolerances of ±0.05mm or better, making it suitable for containers that require tight-fitting lids or seals (e.g., butter boxes, sealing jars).
Excellent wall thickness control: Injection molded products have uniform wall thickness without the local thin/thick variations that can occur in blow molding, resulting in reliable structural strength.
Surface quality: The label and container are completely coplanar, and the mold surface can be finished with high-gloss, matte, or textured effects, giving the final product a “no-label” premium appearance.
These characteristics make injection molding IML the first choice for high-end daily chemical, food, and certain industrial packaging applications.
2. Core Process Flow
The process steps of injection molding IML can be broken down as follows:
Step 1: Label preparation and placement
Pre-printed in-mold labels are stacked as single sheets in a label magazine. An automated robot (typically equipped with vacuum suction cups or electrostatic pickup heads) picks one label from the magazine and precisely places it into the open injection mold cavity. The printed side of the label faces the cavity wall, while the side coated with heat-activated adhesive faces the side that will be filled with plastic.
Step 2: Label fixation – The key role of electrostatic adsorption
Unlike blow molding, which commonly uses vacuum holding, injection molding IML mainly relies on electrostatic adsorption. The principle: by applying a high-voltage electrostatic charge to the mold cavity wall, an opposite charge is induced on the label surface, firmly holding the label against the mold surface.
Why not use vacuum adsorption? The injection pressure of molten plastic in injection molding is extremely high, typically 50–200 MPa (megapascals) or even higher. If vacuum holding were used, tiny vacuum holes would need to be drilled in the cavity wall. Under such high injection pressure, the high-speed plastic flow can cause the following problems:
Puncturing the label: The plastic bursts through the label directly at the vacuum hole, causing label damage.
Blocking vacuum holes: Molten plastic seeps into the vacuum holes and solidifies, making normal vacuum operation impossible for subsequent cycles.
Surface defects: Vacuum holes may leave tiny protrusions or dimples, affecting surface quality.
Therefore, electrostatic adsorption has become the mainstream fixation method for injection molding IML. It requires no holes, provides uniform holding force, and does not compromise mold surface integrity.
Step 3: Mold closing and injection
After the label is fixed, the mold closes under high pressure. The screw moves forward, injecting molten plastic (typically PP or PE) at high speed through the sprue and runner into the cavity. The melt first fills the thin gap between the label and the cavity wall. Because the label is already electrostatically held against the wall, the molten plastic can only fill on the back side of the label.
Step 4: High-temperature fusion and cooling
The high temperature of the molten plastic (typically 200–240°C, depending on the material) transfers to the heat-activated adhesive layer on the back of the label, melting it instantly. At the same time, the molten plastic and the label substrate (same material type, e.g., PP label with PP container) undergo molecular chain interdiffusion at the interface, achieving true molecular-level fusion. This bond is much stronger than conventional adhesive bonding; the label and container become almost a homogeneous entity.
Subsequently, the mold cooling system circulates cooling water to lower the product temperature below the heat deflection temperature of the material. During cooling, the label and container shrink together, completing final shaping.
Step 5: Mold opening and part removal
The mold opens, and a robot or automatic demolding device removes the finished part. Since the label has already fused with the container, no secondary labeling is required, and the product can proceed directly to packaging or downstream operations.
3. Detailed Technical Advantages of Injection Molding IML
Compared with traditional post-mold labeling (e.g., pressure-sensitive labels, shrink sleeves) and blow molding IML, injection molding IML offers unique advantages:
| Aspect | Injection Molding IML | Traditional Pressure-Sensitive Label | Blow Molding IML |
|---|---|---|---|
| Label-container bond | Molecular fusion, non-peelable | Surface adhesion only, peelable | Fusion, but slightly less uniform wall thickness |
| Scratch & chemical resistance | Excellent | Fair (prone to edge lifting, solvent attack) | Good |
| Surface appearance | High-gloss or textured, no label edge | Tangible label edge | Smooth, but may have local deformation |
| Production efficiency | One-step molding, no post-process | Separate labeling step (labor/equipment) | One-step molding |
| Recyclability | Same-material, directly grind and recycle | Label separation required (different material) | Same-material |
| Suitable product types | Thick-wall, precision, small to medium containers | Various surfaces | Thin-wall, large hollow containers |
4. Material Matching and Mold Design Essentials
4.1 Material selection
Label substrate: Most commonly PP (polypropylene) or PE (polyethylene), and must be the same as or compatible with the container material. PP labels for PP containers, PE labels for PE containers. In rare cases PET labels are used, but require a special adhesive layer.
Adhesive layer: Heat-activated adhesive specially formulated for injection molding. Its melting point must be lower than the melt temperature of the plastic but higher than the mold ejection temperature, ensuring it melts fully during molding and remains bonded after cooling.
Inks: Must withstand injection molding temperatures and pressures. Heat-resistant UV inks or solvent-based inks are commonly used.
4.2 Key mold design points
Electrostatic adsorption system: The cavity wall must incorporate embedded electrodes or be designed with insulating/conductive layers to ensure uniform electrostatic distribution and avoid local weak holding.
Gate location: The gate should be placed away from the label-covered area or at the label edge to prevent the high-pressure plastic flow from directly impacting the label, which could cause displacement or ink wash-off.
Venting system: Air may be trapped between the label and the cavity wall during injection. Proper venting channels must be designed to avoid bubbles on the label surface.
Label positioning features: For complex cavity shapes, micro-positioning steps or pins can be designed at the cavity edge to assist the robot in accurate label placement.
5. Common Defects and Troubleshooting
| Defect | Possible Causes | Solutions |
|---|---|---|
| Label shift or skew | Insufficient electrostatic force; robot positioning error; high injection impact | Increase electrostatic voltage; calibrate robot; adjust injection speed or gate location |
| Label wrinkling | Label size mismatch with cavity; differential shrinkage; moisture absorption | Optimize pre-compensation for shrinkage; control workshop humidity; pre-dry labels |
| Bubbles/white spots on label surface | Air not exhausted; poor venting of adhesive layer | Add venting channels; use mesh-pattern adhesive layer |
| Ink wash-off (ink migration to container) | Poor heat resistance of ink; excessive melt temperature | Use high-temperature resistant ink; lower melt temperature appropriately |
| Poor adhesion (label separates from container) | Adhesive layer not fully melted; material mismatch | Increase mold or melt temperature; verify label and container material compatibility |
6. Typical Application Examples
Ice cream tubs (PP) : Injection molding IML provides 360° wrap-around high-definition graphics with excellent low-temperature resistance and scratch resistance, avoiding the peeling or embrittlement of pressure-sensitive labels in freezers.
Butter/margarine tubs: Label and tub become one. The lid seals precisely with the tub body, and the graphics remain like new over time.
Yogurt/pudding cups: Thin-wall injection molding with IML enables high-speed production (4–6 second cycles), with labels resistant to refrigerated storage and even boiling water exposure.
Cosmetic compacts: High-gloss molds combined with transparent IML labels deliver a “direct-printed” luxurious appearance.
Oil bottle caps and complex industrial parts: One‑step molded identification on complex curved surfaces avoids abrasion or chemical corrosion that could blur traditional labels.
7. Future Trends
With the spread of electric injection molding machines and high-speed robots, cycle times for injection molding IML have been reduced to 3–5 seconds, making production efficiency comparable to conventional pressure-sensitive labeling. Two emerging technologies are driving further progress:
IML with in‑mold electronics: Conductive inks and electronic components are integrated into the label, producing plastic parts with touch sensing or light‑emitting functions directly from the mold.
Digital process simulation: Companies like Motek have developed dedicated IML injection molding simulation software that can predict label displacement, warpage, and fusion quality in advance, significantly reducing mold trial costs.
8. Conclusion
Injection molding in-mold labeling is a precision process that combines materials science, mold engineering, and automation technology. It perfectly addresses the combined needs of high-precision containers for durable decoration, recyclability, and enhanced appearance. With years of experience in material formulation and mold design data accumulation in the injection IML field, Motek offers full-process services from label printing and mold optimization to production support.
For further information on feasibility analysis, sample testing, or technical training for injection molding IML, please contact the Motek technical team.
Contact Us
Name*
Telephone*
Region*
Please fill in your request*


