
How an IML Flower Pot Is Born: The Complete Production Process Revealed
How an IML Flower Pot Is Born: The Complete Production Process Revealed
📖 Table of Contents
Have you ever wondered how those beautifully decorated plastic flower pots – with patterns that seem to grow right out of the surface – are actually made?
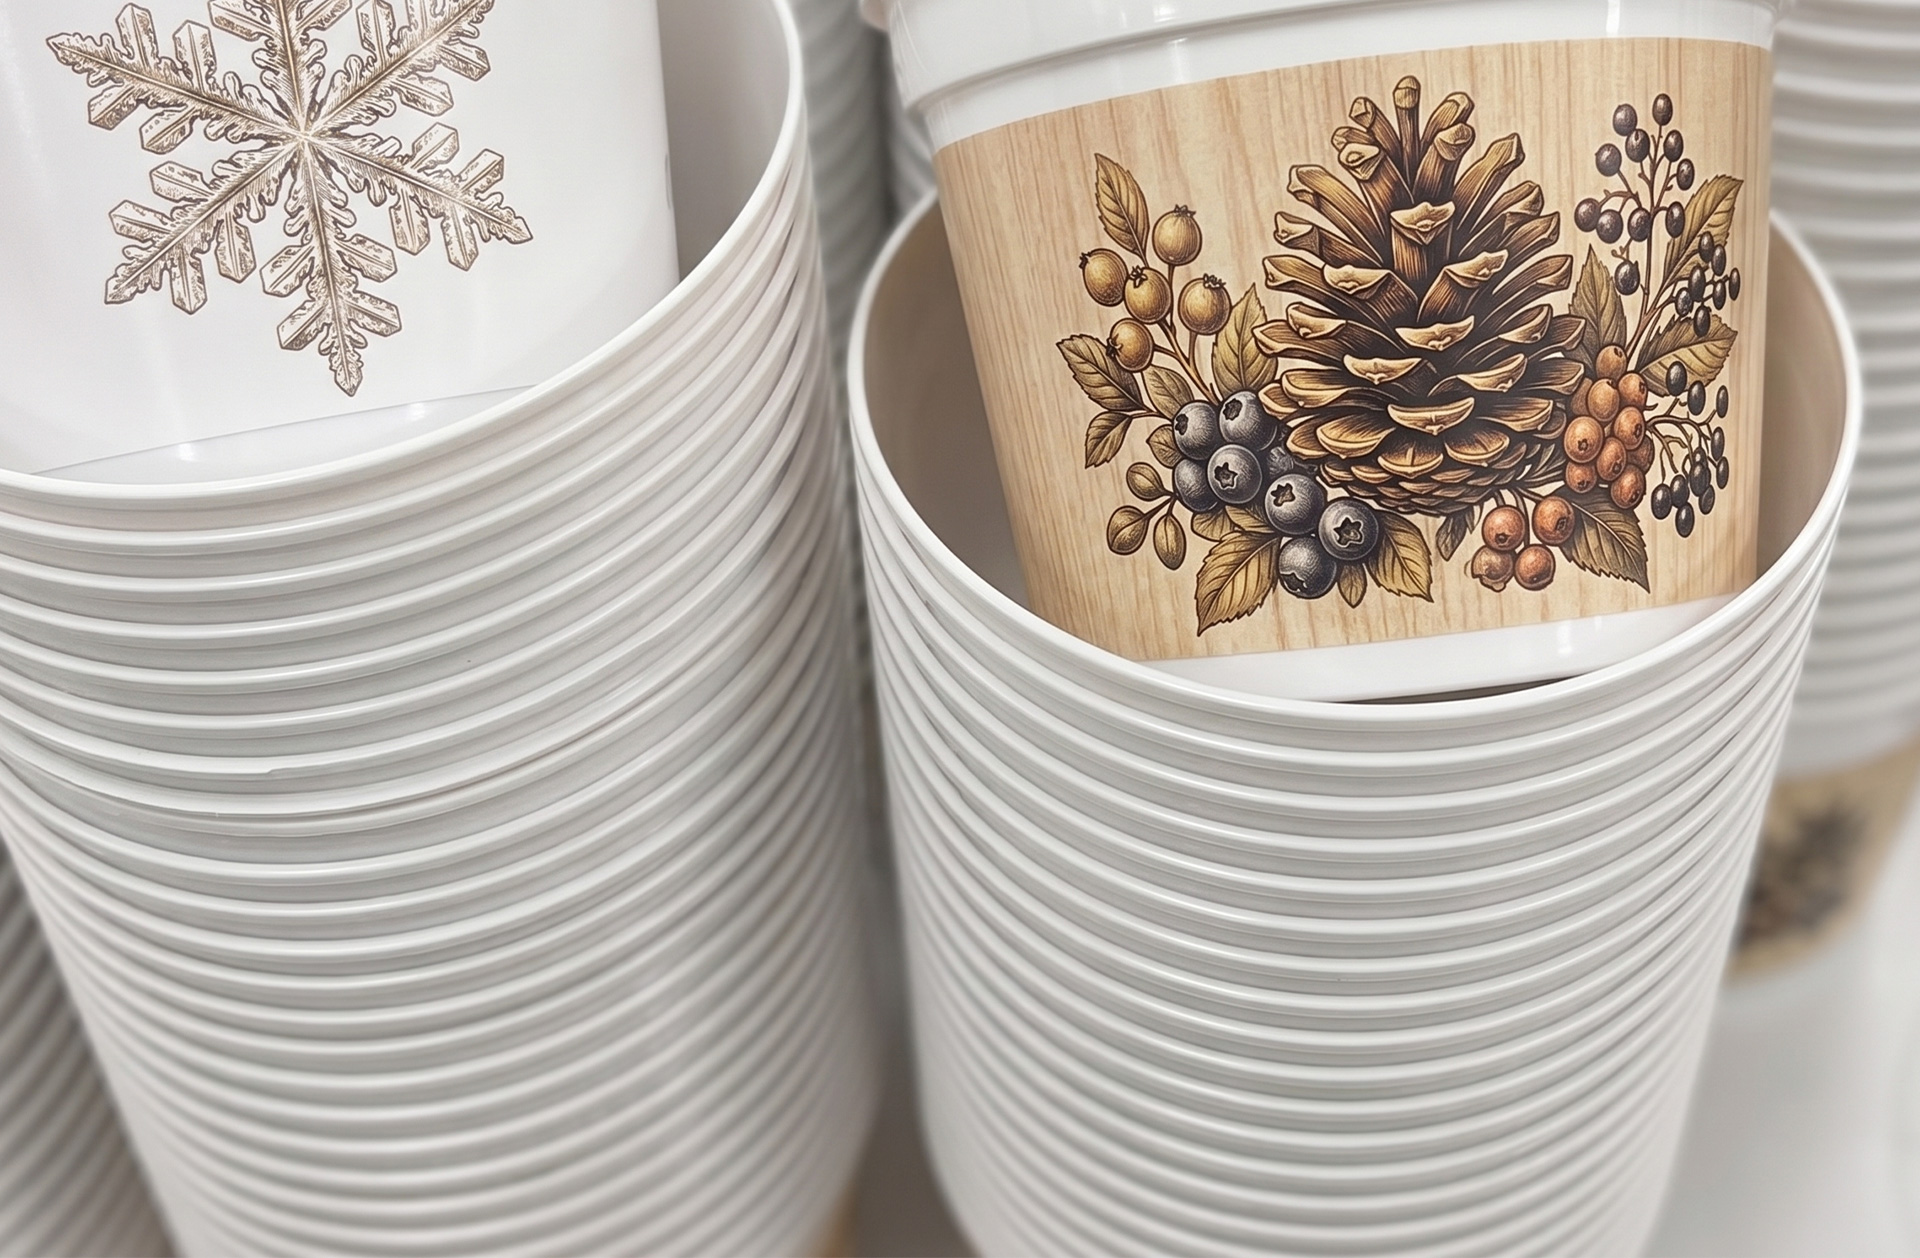
They are not stickers, nor are they screen‑printed. The answer is In‑Mold Labeling (IML). In simple terms, a pre‑printed label is placed inside the mold, and the pot is formed around it, so the label becomes an integral part of the surface. The label and the pot fuse into one – you cannot see the edges, you cannot feel a seam, and the decoration remains vivid through sun, rain, soil, and washing.
So, how does an IML flower pot go from a roll of film to a finished product? Below, we break down the entire production process step by step, from pre‑design, printing, die‑cutting, to injection molding.
1. Step 1: Design – Drawing the Blueprint for the Pot
Everything starts with design. This step may seem straightforward, but it determines whether all subsequent processes can run smoothly.
1.1 Pot Structure Design
An IML flower pot is not just an ordinary pot with a sticker attached. The structure of the pot itself must accommodate the IML process:
- Draft angle: IML pots typically require a draft angle of at least 3° – larger than standard injection‑molded parts – otherwise the label cannot lie flat against the mold cavity.
- Uniform wall thickness: The wall thickness must be consistent; a recommended minimum average thickness is ≥1.2mm (1.0mm excluding the film). Sudden changes in thickness can cause label shifting.
- Rounded corners: IML molding cannot produce sharp outer edges – all corners must have radii, at least R0.3mm.
- Flat surface: The label area must be smooth and regular, avoiding raised decorative patterns or text.
1.2 Label Graphic Design
The label design also requires careful attention:
- Dimension calculation: The label size must account for the shrinkage of the pot (IML pots typically have a shrinkage rate of about 0.3%), and the developed dimensions must be precisely calculated.
- Color mode: CMYK four‑color printing is used, with support for special effects like pearlescent and metallic inks.
- Background layer: If the pot substrate is dark, the label design should include a double white backing layer to prevent the colors from appearing dull.
2. Step 2: Printing – Imprinting the Pattern onto the Film
Once the design is finalised, the label printing process begins.
2.1 Sheet Cutting
The roll of film is cut into square sheets of the required size for printing. IML label materials fall into two main categories:
- Paper‑based labels: Used early on, but they have poor surface smoothness, deform when wet, and are not compatible with plastic for recycling.
- Film‑based labels: Currently the mainstream choice. These are multi‑layer co‑extruded films with smooth surfaces, good stretchability, and excellent color reproduction – far superior to paper.
Common film thicknesses are 0.1mm, 0.125mm, and 0.175mm. Using the same polymer as the pot (e.g., polypropylene PP) also makes the final product 100% recyclable.
2.2 Flat Printing
Based on the design artwork, printing plates are made, and the pattern, text, and logo are printed onto the film sheets. IML supports high‑resolution printing, enabling very fine details.
2.3 Ink Drying and Curing
The printed film sheets are placed in a high‑temperature oven to cure the ink, preventing it from smudging or fading in later steps.
2.4 Protective Lamination
To avoid scratching the printed surface during subsequent punching and die‑cutting, a single or double layer of protective film is sometimes applied.
3. Step 3: Die‑Cutting – Shaping the Labels
The printed film must be die‑cut into individual labels.
3.1 Punching Registration Holes
Registration holes must be punched accurately – they determine the positioning precision for all subsequent operations.
3.2 Thermoforming (Pre‑forming)
The printed film is heated and then formed using a high‑pressure machine or copper mold to give it a three‑dimensional shape that matches the curvature of the pot. This step is critical – without pre‑forming, the film may not conform to the pot's curved surface during injection, causing wrinkles or bubbles.
3.3 Trimming the Outline
The excess waste material is trimmed away, leaving individual labels that match the shape of the pot.
There are two main die‑cutting methods:
- Inline die‑cutting: Rotary die‑cutting is performed directly on the printing press.
- Offline die‑cutting: Die‑cutting is done on a separate machine after printing.
4. Step 4: Injection Molding – Uniting the Pot and the Label
This is the core step of the IML process – the moment the flower pot is truly born.
4.1 Label Loading
The pre‑printed and die‑cut labels are picked up by a robotic arm from the label magazine and precisely placed against the inner wall of the open mold.
4.2 Label Fixing
Once placed, the label must be securely held against the cavity wall by:
- Vacuum adsorption: Tiny vacuum holes in the mold create negative pressure to hold the label in place.
- Electrostatic adsorption: Static charge keeps the label accurately positioned.
The placement must be extremely precise – robotic positioning accuracy must be within ±0.2mm. The printed side of the label faces the mold wall, while the back (coated with heat‑activated adhesive) faces outward.
4.3 Mold Closing and Injection
After the label is fixed, the mold closes. Molten plastic resin (typically polypropylene PP) is injected into the cavity.
During this process, the high‑temperature melt contacts the back of the label, melting the solid hot‑melt adhesive layer and permanently bonding the label to the plastic.
4.4 Cooling and Mold Opening
After injection, the product is cooled and solidified inside the mold. Cooling must be uniform to avoid warpage or label wrinkling.
Once cooled, the mold opens, and a complete IML flower pot emerges – the label and the pot are now one seamless piece, with no visible edges, as if the design were printed directly onto the surface.
The entire process is a fully automated, continuous cycle, from label loading to finished product.
5. Post‑Processing: Inspection and Packaging
After molding, the pots go through final finishing steps before shipment.
5.1 Automated Inspection
Modern IML lines are equipped with CCD vision inspection systems that automatically check every pot for label position, pattern integrity, and surface defects.
5.2 Automated Stacking and Packaging
Approved products are automatically stacked and packaged ready for dispatch.
The entire IML flower pot production process – from design, printing, die‑cutting, to injection molding – is a chain of interconnected steps. Any deviation at any stage – incorrect label size, poor die‑cutting accuracy, uneven mold temperature – can affect the final quality. That is why IML demands such high precision at every step.
6. FAQ
No. The IML label fuses with the pot during injection molding – it is not "stuck on" but "grown into" the surface. The label and pot become a single unit and will not peel or lift.
IML requires precision mold design, automated robotic handling, vacuum/electrostatic systems, and other advanced equipment, leading to higher initial investment. However, IML combines labeling and molding in one step, eliminating separate labeling processes and labour costs, making it highly cost‑effective for large‑scale production.
Yes. When the label and the pot are made of the same polymer (e.g., both PP), the product is 100% recyclable without the need to separate the label.
No. The ink layer is encapsulated between the film and the resin, so it does not oxidise or wear. The surface has excellent scratch and abrasion resistance.
IML is most cost‑effective for large runs, but it can also accommodate smaller volumes with flexibility. For small orders, discuss with your supplier whether standard‑sized labels are available.
Traditional labeling is "stuck on" – labels have visible edges, may peel, and are prone to scratches. IML labels are "grown in" – they are integral to the product, have no visible edges, never peel, and are highly resistant to wear.
Contact Us
Name*
Telephone*
Region*
Please fill in your request*


